

Blog / Hammond GMC Dealer

Comprehensive Guide to OEM Auto Parts: Serving Hammond, Baton Rouge, and Covington

At Ross Downing GMC, we understand the importance of using the right parts for your vehicle. This guide aims to provide you with essential information about Original Equipment Manufacturer (OEM) auto parts, their benefits, and how they compare to other options in the market. Whether you’re in Hammond, Baton Rouge, or Covington, we’re here to help you make informed decisions about your GMC auto parts and other vehicle components.

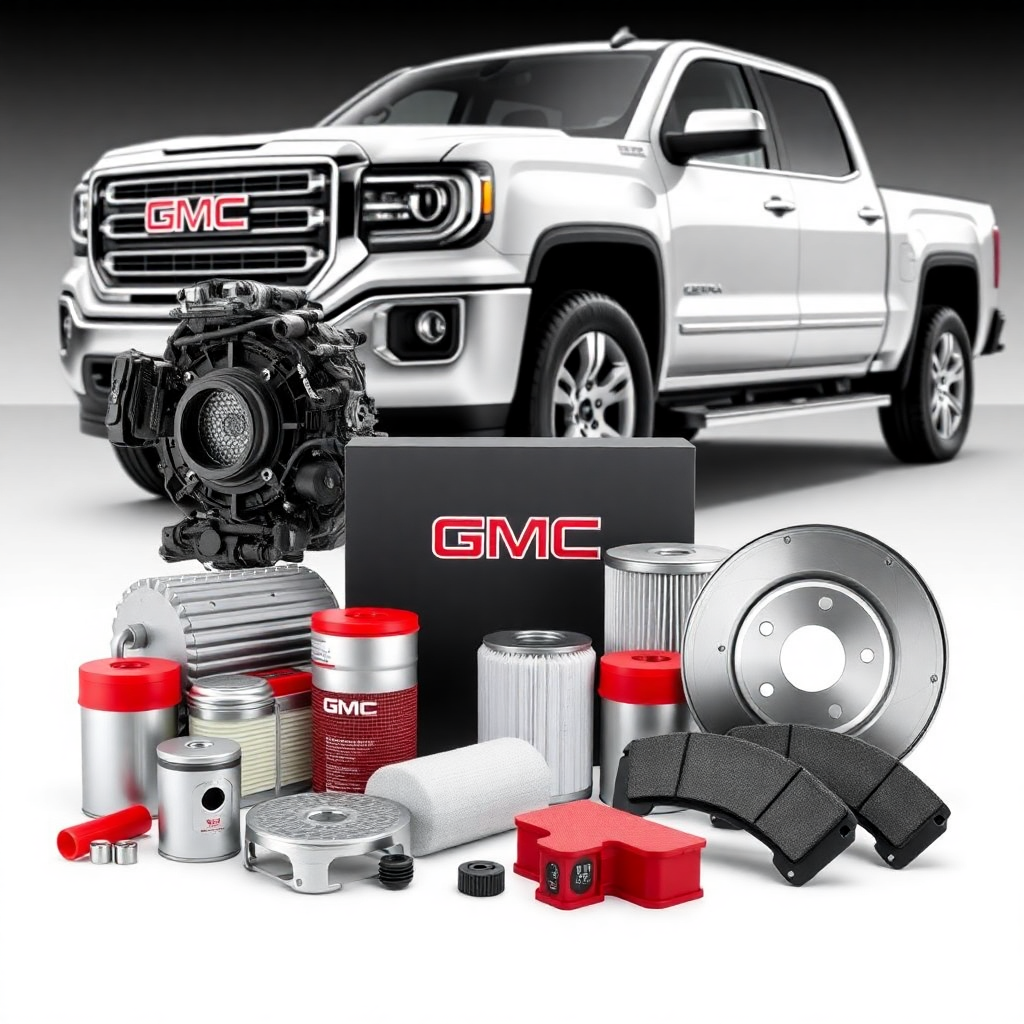
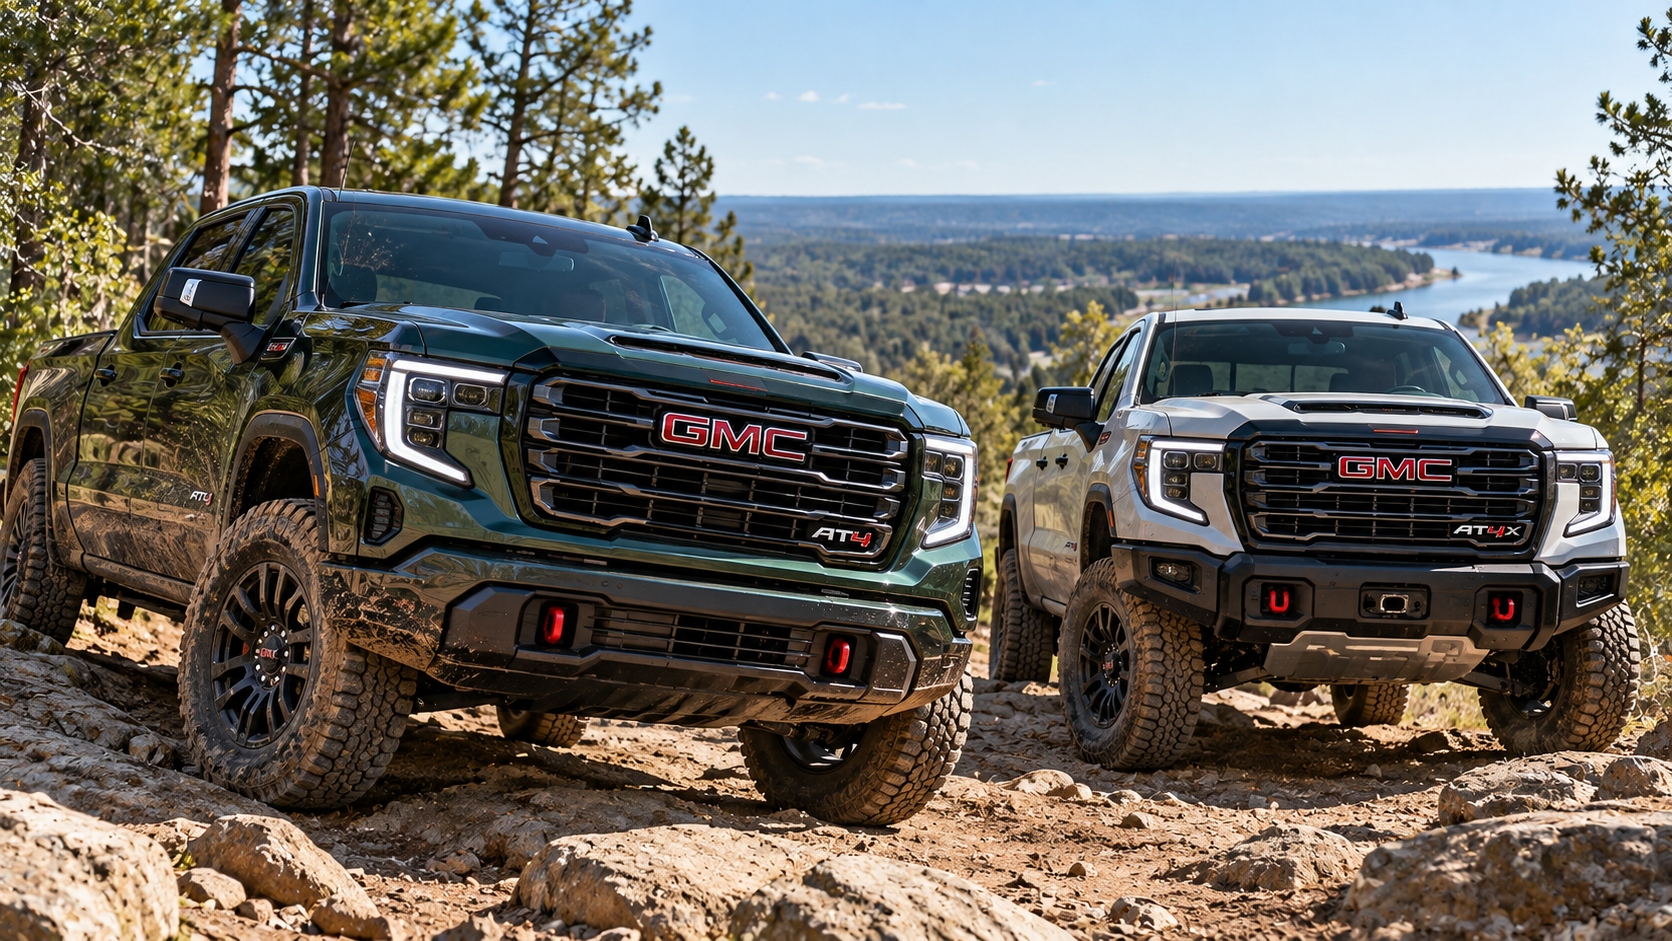
Image licensed via Writesonic

Understanding OEM Parts

OEM, which stands for Original Equipment Manufacturer, refers to parts that are made by the same company that produced the components for your vehicle when it was first manufactured. For GMC vehicles, these parts are designed to meet the exact specifications of your car, ensuring optimal fit and performance.

OEM vs. Original Parts

While the terms “OEM” and “original” are often used interchangeably, there is a subtle difference:

  • Original parts are those installed in your vehicle during its initial assembly.
  • OEM parts are identical to original parts but are purchased separately after the vehicle’s manufacture.

Both types maintain the same quality standards and are often indistinguishable in terms of performance and durability.

OEM vs. Aftermarket Parts

Aftermarket parts are produced by companies other than the original manufacturer. While they may be more readily available and often less expensive, they can vary significantly in quality and fit. Here’s a comparison:

  1. Quality Assurance:
    • OEM parts are guaranteed to meet the original specifications.
    • Aftermarket parts may vary in quality, from subpar to potentially superior.
  2. Fit and Compatibility:
    • OEM parts are designed for exact fit and function.
    • Aftermarket parts may require modifications or may not fit perfectly.
  3. Warranty Coverage:
    • OEM parts often come with a warranty from the manufacturer.
    • Aftermarket parts may have limited or no warranty.
  4. Cost:
    • OEM parts are typically more expensive.
    • Aftermarket parts are generally less costly, but prices can vary widely.

Advantages and Disadvantages of OEM Parts

Advantages:

  1. Guaranteed Quality: OEM parts meet the same standards as the original components in your vehicle.
  2. Perfect Fit: These parts are designed specifically for your make and model, ensuring seamless installation.
  3. Warranty Protection: Many OEM parts come with a warranty, providing peace of mind.
  4. Consistency: You know exactly what you’re getting with each purchase.

Disadvantages:

  1. Higher Cost: OEM parts are often more expensive than aftermarket alternatives.
  2. Limited Availability: They may only be available through authorized dealers or specific channels.
  3. Lack of Variety: Unlike aftermarket parts, there are typically no options for upgrades or modifications.

Reliability of OEM vs. Aftermarket Parts

When it comes to reliability, OEM parts are generally considered the safest choice. They are designed to meet the exact specifications of your vehicle, ensuring optimal performance and longevity. However, it’s important to note that some high-quality aftermarket parts can match or even exceed OEM standards.

For critical components, such as those in your GMC Sierra’s engine or transmission, OEM parts are often the most reliable choice. For less critical or easily replaceable parts, high-quality aftermarket options may provide a good balance of cost and performance.

High-Quality Aftermarket Part Suppliers

While we primarily recommend OEM parts, we acknowledge that there are reputable aftermarket suppliers in the market. Some well-known brands include:

  1. ACDelco
  2. Bosch
  3. Denso
  4. Moog
  5. NGK

These suppliers often produce parts that meet or exceed OEM specifications, providing a viable alternative for budget-conscious consumers.

Best Places to Buy OEM Car Parts

When looking for OEM parts for your GMC Sierra or any other vehicle, your best option is to go directly to an authorized dealer. At Ross Downing GMC, we pride ourselves on being the go-to source for OEM parts in Hammond, Baton Rouge, and Covington. Here’s why dealerships are the preferred choice:

  1. Guaranteed Authenticity: Dealerships only sell genuine OEM parts.
  2. Expert Advice: Our staff can help you find the exact part you need.
  3. Installation Services: We can install the parts for you, ensuring proper fitment.
  4. Warranty Support: OEM parts purchased from dealerships often come with warranty coverage.

While some auto parts stores like AutoZone may carry OEM parts, it’s important to verify their authenticity. Not all parts sold at these stores are OEM, and many are aftermarket alternatives.

Identifying OEM Parts

To ensure you’re getting genuine OEM parts, consider the following:

  1. Purchase from Authorized Dealers: This is the most reliable way to get genuine OEM parts.
  2. Check the Packaging: OEM parts typically come in branded packaging from the vehicle manufacturer.
  3. Look for Part Numbers: OEM parts will have the manufacturer’s part number, which can be cross-referenced for authenticity.
  4. Verify with the Manufacturer: You can often check part numbers on the manufacturer’s website to confirm authenticity.

The Role of OEM Parts in Professional Repairs

Most dealerships and many professional mechanics prefer to use OEM parts for repairs. This preference stems from several factors:

  1. Guaranteed Fit: OEM parts eliminate fitment issues, saving time during repairs.
  2. Quality Assurance: Using OEM parts helps maintain the vehicle’s original performance standards.
  3. Warranty Compliance: Some vehicle warranties require the use of OEM parts for repairs.

However, some independent mechanics may use high-quality aftermarket parts to offer more competitive pricing. It’s always best to discuss part choices with your mechanic before repairs begin.

Making the Right Choice for Your Vehicle

Deciding whether to use OEM parts ultimately depends on several factors:

  1. Vehicle Age and Value: For newer or high-value vehicles, OEM parts are often the best choice to maintain value and performance.
  2. Budget Constraints: If cost is a significant factor, high-quality aftermarket parts might be a suitable alternative.
  3. Intended Use: For critical components or performance parts, OEM is generally recommended.
  4. Long-term Plans: If you plan to keep your vehicle for many years, investing in OEM parts can pay off in the long run.

Serving Hammond, Baton Rouge, and Covington

At Ross Downing GMC, we’re proud to serve the communities of Hammond, Baton Rouge, and Covington with high-quality OEM parts for all GMC models, including the popular GMC Sierra. Our extensive inventory and knowledgeable staff ensure that you’ll find the right parts for your vehicle, whether you’re in for routine maintenance or major repairs.

We understand the unique needs of drivers in our area, from the bustling streets of Baton Rouge to the scenic roads of Covington. Our commitment to providing genuine OEM parts helps ensure that your GMC performs at its best, no matter where your journeys take you.

Whether you’re looking for GMC Sierra auto parts in Hammond, seeking auto parts in Baton Rouge, LA, or need assistance with your vehicle in Covington, Ross Downing GMC is your trusted source for OEM parts and expert advice.

By choosing OEM parts from Ross Downing GMC, you’re not just buying a component; you’re investing in the longevity and performance of your vehicle. Visit us today to experience the difference that genuine OEM parts can make for your GMC.
Posted in:

Related Posts

GMC Acadia Trim Levels Comparing AT4 and Denali Models

GMC Acadia Trim Levels Comparing AT4 and Denali Models

GMC Acadia trim levels give you two distinct paths when comparing AT4 and Denali. Both share the same core engine and three row layout. However, their equipment changes what you encounter from the driver seat. AT4 adds hardware for traction and rougher surfaces. Denali places greater focus on seating, displays, and cabin convenience. What AT4 and Denali Share Do Acadia AT4 and Denali use different engines? Both use the same 2.5L Turbo engine and eight speed automatic transmission. GMC rates that engine at 328 horsepower. Therefore, engine output does not separate these two trims. The larger differences appear in the chassis, traction hardware, cabin materials, and convenience equipment. Both trims also retain seating for seven. Their published cargo volume reaches 97.5 cubic feet behind the first row. As a result, choosing AT4 does not require surrendering the Acadia's core passenger or cargo layout. Each trim also includes the large central infotainment display found across the current Acadia lineup. Available Super Cruise further extends the technology choices for either configuration. That shared foundation matters during a GMC Acadia trim comparison. You can focus on the equipment that changes without treating them as entirely different SUVs. How Acadia AT4 Changes the Chassis AT4 separates itself through hardware beneath and around the vehicle. What does AT4 change beyond exterior styling? The answer starts with its AWD hardware, suspension tuning, tires, ride height, skid plates, and Terrain Mode. Active Torque Control AWD can send torque between the front and rear axles. It can also distribute torque between the rear wheels. Therefore, power can move toward the wheel positions with available traction. Terrain Mode adds another tool for slow travel across rough surfaces. The mode can manage low speed movement through accelerator input. That setup gives you another method for controlling the Acadia during careful off pavement travel. AT4 also changes several physical components that meet the road or protect the underside. All terrain tires: These tires carry tread suited to mixed surfaces beyond ordinary paved roads. Lifted ride height: Additional ground clearance creates more space between lower vehicle components and uneven surfaces. Skid plates and suspension tuning: These components support the AT4's focus on rougher routes and uneven terrain. These changes explain why AT4 feels different without receiving another engine. The distinction comes from how the chassis handles traction, clearance, and surface changes. For Louisiana travel, those traits can matter beyond dedicated trails. Gravel drives, camp access roads, wet grass, and uneven property entrances can place traction hardware into regular service. How Acadia Denali Changes the Cabin Denali takes a different approach within GMC Acadia trim levels. Its major changes concentrate inside the cabin instead of adding AT4 terrain hardware. What does Denali add inside the Acadia? GMC includes leather appointed first and second row seating, plus heated and ventilated front seats. It also includes an eight inch Head Up Display. The Head Up Display places selected information within the driver's forward sightline. Therefore, you can view key data without shifting your eyes toward the center display. Ventilated front seats address a separate cabin task. Air movement through the seating surfaces can make hot weather trips more comfortable. That can stand out during Louisiana summers and long stretches in direct sun. Denali also adds powered functions for the rear seating area. Power folding third row seats reduce the manual work involved when changing the cargo layout. One touch second row folding provides another quick route into a larger storage configuration. These items change different moments inside the cabin. Some support the driver, while others focus on seating or cargo conversion. For this reason, Denali is more than an appearance package. Its equipment changes how you interact with information, seats, and interior space. How the Two Trims Feel Different From the Driver Seat AT4 and Denali begin from the same Acadia powertrain, yet they communicate their differences through different parts of the vehicle. AT4 places more of its distinction beneath you. AWD torque distribution, suspension tuning, tire construction, and ride height shape how the chassis responds to changing surfaces. Denali places more of its distinction around you. Seating materials, ventilation, the Head Up Display, and powered rear seats change cabin interaction. That separation gives you a useful way to evaluate both trims. Ask where you want the extra equipment to work most. If rough access roads are common, AT4 hardware deserves closer attention. If most trips remain paved, Denali cabin equipment may receive more frequent interaction. Still, both trims retain the Acadia's three row structure and shared engine output. You are choosing where GMC places the trim specific equipment, not choosing between unrelated vehicle formats. A test drive can make that distinction easier to recognize. Spend time checking visibility, seating position, display placement, and steering response. Then, inspect the tires, ride height, and cargo access before comparing your notes. Matching AT4 or Denali to Your Driving Plans Choosing between these GMC Acadia trim levels becomes clearer when you connect equipment with your usual routes and passengers. Start with where the Acadia will travel, then consider which cabin items you will interact with most. The strongest reasons for choosing each trim come from different priorities. Choose AT4 for terrain focused hardware: Active Torque Control AWD, all terrain tires, extra clearance, skid plates, and Terrain Mode define its direction. Choose Denali for cabin focused equipment: Leather appointed seating, ventilation, the Head Up Display, and powered rear seating lead its direction. Compare both when your needs overlap: Shared seating, cargo room, engine output, and available technology keep either trim open for family travel. Neither choice requires abandoning the core Acadia layout. Instead, the decision centers on which equipment earns its place in your routine. Ross Downing GMC can show you current Acadia AT4 and Denali inventory in Hammond. Seeing both trims together gives you a direct way to inspect their hardware and cabin differences. Bring your normal driving plans into that comparison. Think about your roads, passengers, cargo, and time behind the wheel. Those details give the AT4 versus Denali decision a much clearer direction.

GMC ProGrade Trailering Guide for Sierra Accessories

GMC ProGrade Trailering Guide for Sierra Accessories

GMC ProGrade Trailering gives Sierra owners integrated tools for hitch setup, trailer information, and towing preparation. Yet those tools are only one part of a complete towing setup. Physical hardware, bed protection, wiring, and trailer braking equipment still need their own review. Therefore, a good setup starts by matching each part to the truck and trailer. How GMC ProGrade Trailering Fits the Full Setup GMC ProGrade Trailering brings several integrated trailering tools into the Sierra. Available equipment can include Hitch Guidance, Hitch View, and the In Vehicle Trailering App. Together, these tools support trailer setup, connection checks, and stored trailer information. However, integrated trailering technology does not replace the physical connection between truck and trailer. A receiver, ball mount, hitch ball, safety chains, and electrical connector still handle separate jobs. The trailer itself may also require compatible braking hardware. What does GMC ProGrade Trailering handle? It supports setup and monitoring through truck based technology. By contrast, the hitch and wiring create the mechanical and electrical connection to the trailer. That distinction keeps accessory shopping clearer. You can review factory trailering features first, then identify the hardware your trailer requires. Therefore, each purchase serves a defined part of the towing setup. Choosing a Sierra Bed Liner A Sierra bed liner protects the cargo box from scratches, impacts, moisture, and surface wear. The right material should match what you place in the bed and how you load it. Spray applied liners bond directly to the bed surface. They create textured coverage across the floor, walls, and other coated areas. Molded liners sit inside the bed as a separate shell. Bed mats cover the floor while leaving the bed walls uncovered. Before choosing a liner, consider how cargo moves inside the bed during loading and transport. Different liner styles manage grip, removal, cleaning, and impact protection in different ways. Spray applied liners: These create permanent textured coverage and suit frequent loading of tools, lumber, equipment, or loose cargo. Molded liners: These create a removable protective shell and suit owners who want replaceable bed coverage. Bed mats: These protect the bed floor and add grip while leaving the side walls open. Which bed liner makes sense for your Sierra? Start with the cargo that will contact the bed most. Then, consider whether permanent coverage or removable protection fits your routine better. Matching Hitch and Wiring Equipment to the Trailer The hitch connection starts with hardware that matches both the Sierra and the trailer. The receiver accepts the ball mount, while the hitch ball connects with the trailer coupler. Safety chains create a secondary connection between the truck and trailer. Electrical wiring handles another part of the setup. Trailer connectors carry signals for lights and compatible trailer brakes. Therefore, the connector must match the trailer wiring arrangement. What hardware connects a Sierra to the trailer? The answer starts with the receiver, ball mount, hitch ball, safety chains, and electrical connector. Each part serves a separate task during towing. Ball size and mount height also need attention. The hitch ball must fit the trailer coupler, while mount height supports a level trailer stance. A poor match can place the trailer at an improper angle before the trip begins. Therefore, hitch parts should be selected as one connection package. Choosing pieces separately can create mismatches between the truck, coupler, and trailer height. When a Trailer Brake Controller Matters A trailer brake controller sends braking input from the Sierra to compatible electric trailer brakes. The controller works through the trailer wiring connection and responds when the truck slows. This setup gives the trailer its own braking response instead of relying only on the truck. Therefore, the controller, wiring, and trailer brakes need to work together correctly. When does a trailer brake controller matter? It matters when the trailer uses compatible electric brakes and the towing setup calls for controlled trailer braking. The trailer design and local requirements should guide that review. The controller also needs proper adjustment. Too little braking input can leave the trailer doing less braking work than intended. Too much input can make trailer braking feel abrupt. For this reason, adjustment should reflect the loaded trailer and its braking response. A different trailer or load may require another check before towing. Building a Work or Recreation Setup A complete Sierra accessory plan should reflect what the truck carries and what it tows. A work truck may spend more time hauling tools, lumber, or job materials. A recreation focused Sierra may carry coolers, camping gear, boat equipment, or trailer supplies. Because those routines place different demands on the truck, accessory priorities can change. Bed protection may lead one setup, while covered storage or trailer equipment may lead another. Work setup: Consider durable bed protection, cargo control, hitch hardware, wiring, and trailer braking equipment for frequent hauling. Recreation setup: Consider bed protection, covered storage, trailer connections, wiring, and braking equipment matched to boats or campers. GMC ProGrade Trailering can support either setup through its integrated trailering tools. Still, the physical accessories should match the trailer and cargo you plan to use. Ross Downing GMC can review current Sierra equipment and available accessory choices for your truck. Bring your trailer details, cargo plans, and towing routine into that conversation. Therefore, you can compare accessories around the work your Sierra will handle after delivery.

GMC Trade In Value Guide for Trading Your Sierra Truck

GMC Trade In Value Guide for Trading Your Sierra Truck

GMC trade in value matters when you are preparing to move from your current truck into a new Sierra. A clear appraisal process starts with your specific truck, its history, and its present mechanical and cosmetic state. Therefore, knowing what the dealership reviews can make the visit easier to follow. You can also arrive prepared for payoff questions, paperwork review, and the final appraisal discussion. What Goes Into a GMC Sierra Appraisal A dealership appraisal reviews your Sierra as a complete truck, not as a mileage number alone. Staff start with basics such as model year, trim, engine, drivetrain, odometer reading, and installed equipment. Then, they inspect the exterior, cabin, tires, bed, glass, lights, and other visible areas. In addition, service history and reported damage may provide context for the truck's current state. Several inspection areas give the appraisal team specific information about the truck. Each area contributes a different piece of the valuation review. Exterior and bed: Staff inspect body panels, paint, glass, tailgate surfaces, and the bed for damage or visible repair needs. Tires and mechanical components: Tire wear, suspension components, brakes, and visible maintenance items may indicate upcoming reconditioning needs. Interior and equipment: Cabin condition, factory equipment, installed accessories, and working controls contribute to the complete vehicle review. GMC trade in value also reflects market information beyond the truck itself. Appraisers may review recent auction data, regional demand, similar inventory, and expected repair costs before setting an offer. Therefore, two Sierra trucks from the same model year can receive different figures. A higher trim, lower mileage, desirable equipment, and cleaner history can support a stronger appraisal result. What does the dealership inspect before assigning a value? The appraisal combines physical inspection, vehicle records, equipment, mileage, and current market data. Because each input tells a different part of the story, no single number controls the entire result. For this reason, an online estimate works best as a starting point, not a final offer. Does Towing or Truck Work Change the Appraisal Towing or hauling history does not set GMC trade in value by itself. Appraisers look for the physical evidence that past work may have left behind. That review can include the receiver area, bed floor, tailgate, tires, suspension components, and visible maintenance items. Furthermore, they may note aftermarket towing hardware or modifications that change resale demand. A Sierra used for trailers can still present well at appraisal time. Service records can show fluid changes, brake work, tire replacement, and other care completed during ownership. However, uneven tire wear, damaged bed surfaces, worn hitch hardware, or neglected maintenance may signal future repair expense. Those items can shape the final figure because the dealership may need to prepare the truck for resale. GMC trade in value can also reflect factory equipment that supports towing or work. Features such as an integrated trailer brake controller, factory hitch equipment, or trailering cameras can strengthen the truck's appeal. By contrast, some aftermarket changes may narrow the pool of future customers. The appraiser will consider whether installed equipment fits current local demand. Should you remove every accessory before the appraisal? No. Start by identifying which parts are factory installed, dealer installed, or aftermarket. Then, bring receipts or service records when they clarify the work completed. That documentation gives the appraiser more context without requiring you to reverse useful upgrades before the visit. Can You Trade a Sierra With an Active Loan You can trade a Sierra even when you still owe money on the loan. The dealership requests a payoff amount from your lender and compares that figure with the appraisal. Therefore, the trade offer and the loan payoff remain separate numbers until the equity is calculated. Positive equity means the GMC trade in value is higher than the lender payoff. That remaining amount can be applied within the next purchase transaction. Negative equity means the payoff is higher than the appraisal figure. In that case, the difference still has to be resolved as part of the transaction. For this reason, the loan balance shown in an online account may not match the payoff quote exactly. Interest can continue to accrue, and the lender may include specific payoff timing. Additionally, some lenders provide payoff instructions directly to the dealership. Having your lender name and account information ready can reduce delays during the review. What if you recently made a payment? Tell the dealership when the payment was submitted. The lender's current payoff figure controls the calculation, so recent account activity needs current verification. Consequently, the finance team may request an updated payoff before final paperwork is completed. Preparing for Your Sierra Trade Preparation gives you a clearer path from appraisal to the next truck. Start by gathering the records and items connected with ownership, financing, and maintenance. Having them together can keep verification work moving during the dealership visit. Bring the items available for your specific Sierra before the appraisal begins: Identification and ownership records: Bring identification, registration, and available title information for ownership verification. Lender information: Have your lender name and account details ready when a loan remains on the truck. Keys and service records: Bring available key sets, maintenance records, accessory receipts, and documentation for major completed work. If a lender holds the title, the dealership can explain what verification it needs from you. Moreover, bringing available records keeps important details together during the visit. GMC trade in value is easier to discuss when you understand the appraisal inputs before the offer appears. You should know the truck's trim, mileage, major factory equipment, recent service work, and any known damage. However, you do not need to make the truck look new before arriving. A basic cleaning can make inspection easier, but major last minute repairs may not return their full cost. The appraisal itself usually follows a straightforward sequence. Staff identify the truck, inspect its visible state, review key records, confirm market information, and prepare the offer. If a loan remains, the payoff review follows alongside the appraisal. As a result, the final discussion can cover both the truck's value and the amount still owed. Once those figures are clear, you can compare the trade with your plans for a new Sierra. A Ross Downing GMC team member can also explain how the appraisal connects with available Sierra inventory. Still, the strongest starting point is understanding your current truck before discussing the next one. Moving From Your Current Truck Into a New Sierra Trading your current Sierra should feel like a clear financial and mechanical review, not a guessing exercise. GMC trade in value starts with the truck you own, the care it received, and the market around it. Furthermore, towing history, mileage, equipment, payoff status, and visible wear each contribute separate information. If you are preparing for a new GMC Sierra in Hammond, bring the records that tell your truck's story. Know your lender information, gather both keys, and be ready to discuss service work or modifications. With that in mind, you can review the appraisal with a clearer sense of how each figure was reached. Ross Downing GMC can walk through the appraisal, payoff details, and available Sierra options during the same visit. The goal is simple: understand the truck you are trading before deciding what comes next.